Monday, September 29, 2014

DIY: Doggy Princess Tutu...with pearls

DIY: DOGGY PRINCESS TUTU...with PEARLS


The Task: Make a tutu for a doggy princess named Bella. It was her grandpa's birthday and she needed something cute to wear. 

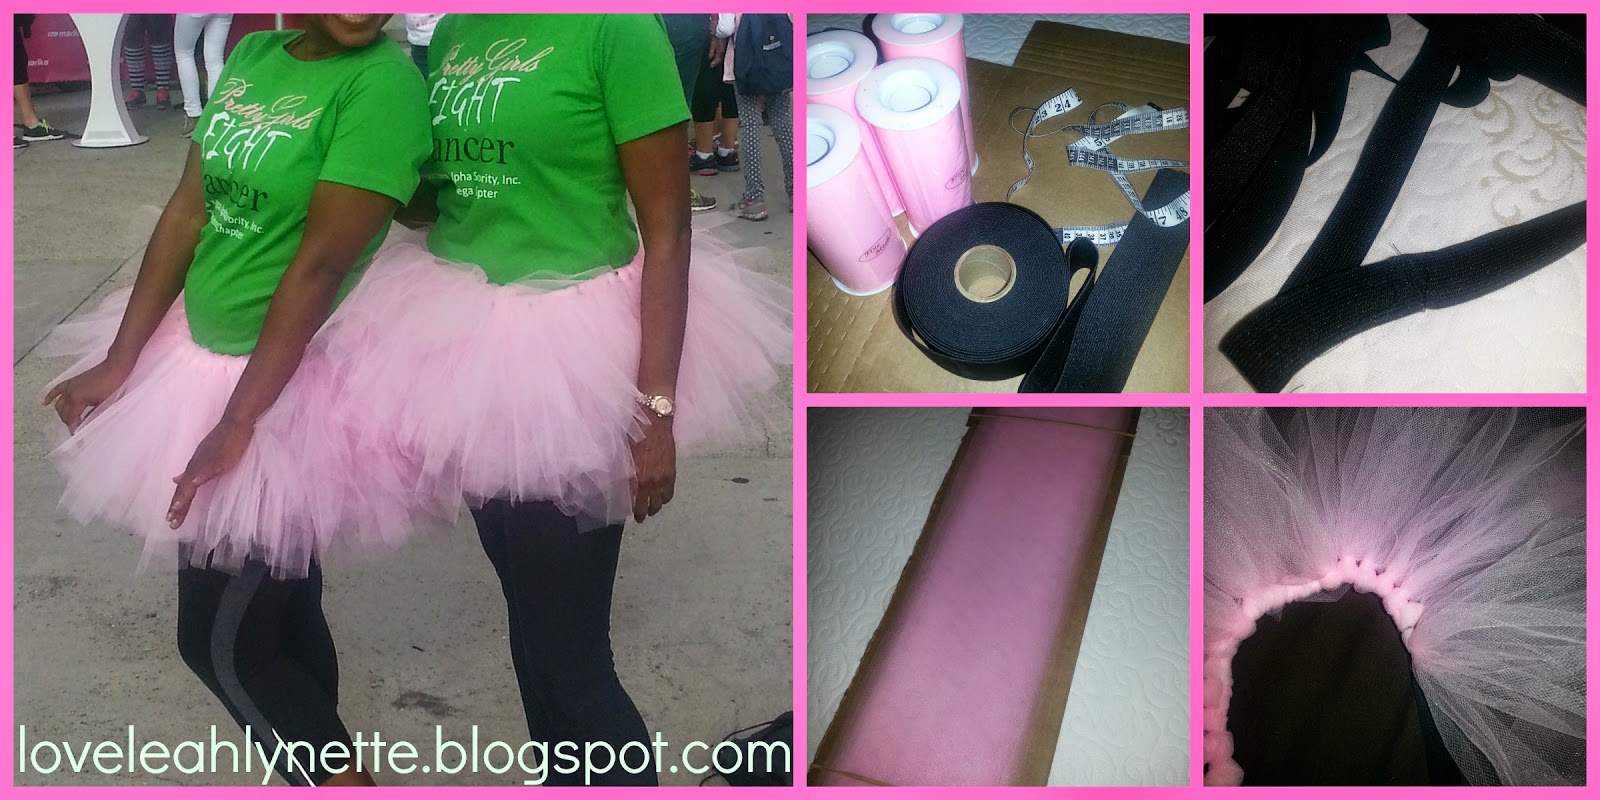
The Ingredients: 1 roll tulle, stretchy ponytail holder or elastic (Bella is extra small so I used the ponytail holder), ribbon, string of pearls, 16 inch long piece of cardboard, glue gun
  
The Purchase Locations: Downtown LA - craft store, jewelry store

The Cost: Approx $6.00
It took me: about 30 minutes 
How to:
1. Take roll of tulle and wrap it long ways around a 16 inch long strip of card board. When all of the tulle has been wrapped around the cardboard, cut the tulle at the top of the cardboard and cut it at the bottom.  Now you have several strips of 16 inch long pieces of tulle.  Repeat this step for each of the rolls of tulle. 

 2. Stretch the ponytail holder around something solid (a piece of cardboard, a book, your knee, whatever) so you can start knotting the tulle around the ponytail holder.  

3. Take two pieces of tulle (one on top of the other) and fold them in half.  Push the looped part up and behind the ponytail holder, then pull the two ends through the loop to create a knot.  Repeat this step until the entire ponytail holder is full. 
4. Tie a ribbon around the middle of the finished tutu. Glue the ribbon to the tutu (I only glued down the part where Bella's tummy was, so her mom and dad could adjust it to fit her waist, as well as get her in and out of it easily).
5. Cut about two-thirds of the tulle off of the stomach area (so your doggy princess can move around easily).

6.  Add a string of pearls to the tutu.  Tie one end of the pearl string to the left side of the tutu, about an inch above where the top of the front left paw would be.  Then, tie the other end of the pearl string to the right side of the tutu, about an inch above where the top of the front right paw would be.  (Because Bella is extra small, the necklace was waaaayy too big.  So, I had to re-string about 20 pearls onto a stretchy piece of string). 
NOTE: I added a little halter ribbon to the tutu thinking it was necessary to hold the tutu in place, but it wasn't necessary. You live and you learn :-)
ENJOY!!
&
HAPPY BIRTHDAY TO BELLA'S GRANDPA!
Love,
Leah Lynette

Monday, August 4, 2014

DIY: FUN FLIP FLOPS

DIY: FUN FLIP FLOPS


The Task: Make some fun flip flops
 
The Ingredients: inexpensive flip-flops (Dollar Tree again), water resistant crazy glue, a pair of shoelaces, a plastic wind chime (I know, random, huh? :-)), scissors
  
The Purchase Locations: Dollar Tree


The Cost: Approx $4.00
 
It only took me: about 20 minutes 

How to:


1. Cut the plastic straps off each flip-flop.

 2. Determine how long you want the straps of your sandals. Fold one shoe string in half and push the loop through the top hole in the flip-flop from the top/front of the flip flop through the back/bottom.
 
3. Turn the flip flop over and tie a big knot or two in the looped part of the shoe string. 
 4. Pull the shoe string down as close to the hole as possible, then add a drop or two of water resistant glue to the hole. Pull the ribbon all the way down first, so you don't get a sticky ribbon.
5. Pull the knot down into the hole and tuck it into the hole so the knot is flush to the bottom of the flip flop (This will keep you from constantly feeling like you are stepping on a rock when you walk).


6. Turn the flip flop back over to the top.  You should now have two shoe string "straps".  Yay! 
 
7. Pull the left shoe string strap through the hole on the left bottom of the flip flop.  Then, pull the right shoe string strap through the hole on the right bottom of the flip flop.   Be sure to leave enough ribbon on top so a foot can fit.  (It may be helpful to try the flip flop on while you pull the straps through for accuracy.) 
 
8. Turn the flop flip over to the bottom. Take the strap on the left and pull it through the hole on the right from back/bottom to front/top. Take the strap on the right and pull it through the hole on the left from back/bottom to front/top.
 
6.  Cut the excess shoe string from the top of the flip flop.
 
7. Add a bit of glue to each hole to secure the straps. 
 
8. Repeat these steps with your second flip flop.
 
9.  Glue any fun treats to the top flip flop strap.  In my case, I found a cute pink and green wind chime.  So, I cut one of the flower charms off of the wind chime and glued it onto my flip flip. 
 

ENJOY!!!

Thursday, July 3, 2014

DIY: July 4th Inspired Sandals

DIY: July 4th Sandals


The Task: Make some cute sandals for the 4th of July 
 
The Ingredients: inexpensive flip-flops (Dollar Tree again), water resistant crazy glue, ribbon, scissors

The Purchase Locations: Dollar Tree

The Cost: Approx. $3.00

It only took me: about 15 minutes

How to:
 
1. Cut the plastic straps off each flip-flop.

 2. Determine how long you want the straps of your sandals. (In hindsight, I wish I had made mine longer so they could wrap around the ankle a few more times.) Cut your ribbon at the desired length.  Fold the ribbon in half and push the loop through the top hole in the flip-flop from the top/front of the flip flop through the back/bottom.


3. Turn the flip flop over and tie a big knot or two in the looped part of the ribbon. 

 4. Pull the ribbon down as close to the hole as possible, then add a drop or two of water resistant glue to the hole.  (Be sure to pull the ribbon down first. Otherwise, you'll end up with a sticky ribbon.
 
5. Pull the knot down into the hole and tuck it into the hole so the knot is flush to the bottom of the flip flop (This will keep you from constantly feeling like you are stepping on a rock when you walk).


6. Turn the flip flop back over to the top.  You should now have two ribbon "straps".  Yay! 
 
7. Pull the left ribbon strap through the hole on the left bottom of the flip flop.  Then, pull the right ribbon strap through the hole on the right bottom of the flip flop.   Be sure to leave enough ribbon on top so your foot can fit.  (It may be helpful to try the flip flop on while you pull the straps through for accuracy.)
 
8. Turn the flop flip over to the bottom. Take the strap on the left and pull it through the hole on the right from back/bottom to front/top. Take the strap on the right and pull it through the hole on the left from back/bottom to front/top.
 
6. Add a bit of glue to each hole to secure the straps. 
 
7. Repeat these steps with your second flip flop.
 
ENJOY!!
 
Special Thanks to my model: Melissa D. :-)

Friday, June 6, 2014

DIY: Creepy Crawler Flip Flops

DIY: Creepy Crawler Flip Flops...for the little guys (and reptile loving little girls) in your life


 You can pretty much glue anything to the straps of a flip flop to turn them into something special.  You just need the right type of glue. I found this out the hard way with this project.
 PERSONAL SIDE NOTE: It was a little uncomfortable making these flip flops because anyone who knows me knows I am NOT a fan of lizards - not real ones, not cartoon ones, not plastic ones, not even pictures of lizards.  I had a bad experience with a lizard when I was a child.  And, we have been on the outs ever since.  They run too fast. They always end up in the wrong places, i.e. on your body somewhere.  And, there is something completely unsettling about a creature whose tail can snap off from their body and keep wiggling around minutes after detachment.  It got so bad I saw a therapist to help get over my fear.  It worked.  And, I can now see a lizard without having a full blown sweaty meltdown.  But, I hadn't tested actually holding a lizard (even a fake one) until this project.  Mission accomplished...but not without some moments of shoulder shuddering and "Ewww" outbursts from yours truly. 

The Task: 
 My bestie's son LOVES lizards.  She tells me all the time about his backyard "lizard hunting" adventures with his dad.  So far, he's been unsuccessful in his quests.  But, he hasn't given up.  I wanted to make some flip flops for kids and ran into a pack of plastic reptiles.  I immediately thought of my little lizard hunter and decided to make him a pair of flip flops for the summer.

The Ingredients: inexpensive flip-flops (Dollar Tree again), water resistant crazy glue (VERY IMPORTANT if  you want your plastic creatures to stay put), some binder clips, rubbing alcohol

The Purchase Locations: Dollar Tree

The Cost: Approx. $3.00

It only took me: about 30 minutes (only because me and the glue were not getting along) PLUS a 24 hour drying time

How to:
1. Wipe off the plastic straps of your flip flops with alcohol. 

2. Decide the layout you want for your reptiles.

3. Add a few drops of water resistant glue to the plastic flip flop strap and to the bottom of your selected reptile.  Place the sticky reptile on the strap.  Use a binder clip to hold the reptile in place for 24-hours.

4. Repeat until your flip-flops are full of creepy crawly reptiles.
 
5. Let the flip-fops dry for 24 hours.   
 
6. Remove the plastic binder clips after about 12 hours (just to make sure they don't get permanently glued to the flip-flop)

 Enjoy!!!  
 
TIP 1: You really can glue anything to the flip flip strap.  Just make sure it is not too heavy or bulky so the wearer will be comfortable.
 
TIP 2: My trusty E6000 glue failed me this time.  The reptiles did stick to the straps but they could be easily peeled off.  I know little boys and I know they like to take things apart.  I didn't want to make it too easy so I opted for a stronger glue.  Plus, I figured the flip flops are bound to get wet so water resistant glue would be a good choice.  It was.  I didn't get it right until my third gluing attempt.  The second attempt, I tried regular super glue.  Terrible idea.  If you ever want two pieces of plastic to NOT stick together, use regular super glue. 
 

Monday, June 2, 2014

DIY: Studded Flip-Flips


DIY: Studded Flip-Flops!!


Summer is coming! Summer is coming!  So, this month I will be featuring a variety of DIY Flip-Flops.  

The Task:  Flippie floppies don't need to be boring OR expensive.  So, grab a pair and spice them up a bit.

The Ingredients: inexpensive flip-flops (got mine from the Dollar Tree), studs, E6000 glue

The Purchase Locations: Dollar Tree, downtown LA rhinestone shop for studs and glue, rubbing alcohol

The Cost: Approx. $3.00

It only took me: about 10 minutes

How to:
1. Wipe off the plastic straps of your flip flops with alcohol.  I do this so the glue will stick better.

2. Decide what pattern you want for your studs.  I just lined them up about 1/4 inch apart from each other.

3. Add a drop of E6000 to the back of one of your studs and place it on the plastic flip flop strap.

4. Repeat until your flip-flops are full of studs and fabulous.

Enjoy!!!

NOTE: I made a pair with raised "bullet" studs.  The studs started to fall off after I wore them a few times.  (I'll post these soon) So, I suggest flatter studs.

Thursday, May 22, 2014

DIY: Adult Tutu


DIY: Adult Tutu...because big princesses need tutu's too :-)


These tutu's were made for the 2014 Revlon Run/Walk. They complimented our "Pretty Girls Fight Cancer" shirts perfectly!

It's super easy to make your own.  Just check out my DIY from: http://loveleahlynette.blogspot.com/2014/01/tutu-from-jurnees-terrible-tu-tus-2nd.html.   It's the same concept with just a few changes.

The Ingredients: This time I used four rolls of 6" tulle, measuring tape, elastic, a 24 inch long strip of cardboard (you can cut this from a box), scissors, two rubber bands

The Purchase Locations: idearibbon.com (the tulle - very, very cheap here),  Downtown LA craft depot (for the elastic)

The Cost: Approx. $5.00

It only took me: about 30 minutes

How to:

1. Take one roll of tulle at a time and wrap it long ways around the 24 inch long strip of card board. When all of the tulle has been wrapped around the cardboard, place a rubber band around the top of the strip and one around the bottom of the strip.  This holds the tulle in place.  Cut the tulle at the top of the cardboard and cut it at the bottom.  Now you have several strips of 24 inch long pieces of tulle.  Repeat this step for each of the rolls of tulle.

2. Measure your waist.  Take between 2-6 inches off (depending on how stretchy your elastic is) and cut the elastic to that length.  NOTE:  The elastic tends to get stretched out as you loop the tulle around it.  So keep that in mind when measuring. No one wants a droopy tutu.  Sew or safety pin the strip of cut elastic together.  Stretch it around something solid (a piece of cardboard, a book, your knee, whatever) so you can start looping the tulle around the elastic. 

5. Take two pieces of tulle (one on top of the other) and fold them in half.  Lay the tulle behind the elastic band so the looped part is on top of the elastic and the rest of the tulle is hanging beneath the elastic band. Grab the two loose ends of tulle, wrap them forward around the elastic band, place the two end pieces between the loop on top of the band.  Then, pull to create a knot.  Repeat this step until your tutu is complete.
Enjoy!

Thursday, May 15, 2014

New Baby Girl...New Sparkly Shoes


These were a gift to a 'new mommy' in my life.

Check out: http://loveleahlynette.blogspot.com/2014/02/diy-sparkly-baby-rhinestone-converse.html for details on how to make these.

This time I added a rhinestone heart to the shoe.  I drew the outline of the heart with a sharpie.  Then, I glued the heart on top of the outline.  And, I added rhinestones all around. 

I also used some cute pink and green ribbon for shoelaces.

ENJOY!!